


I’m a naturally organized person and frankly really enjoy it. But organizing homeschool paperwork and crafts has been my nemesis. The paperwork and crafts and scraps of paper generated by one highly-creative child has been overwhelming at times.
As Caroline has gotten older, it’s gotten better. She doesn’t create as much and she’s willing to pitch things now. When she was in max production mode and minimal-to-zero disposal mode, it was seriously unreal. I admit I just let it pile up because I didn’t know where to start.
I finally figured out what would work for organizing homeschool paperwork when Caroline was finishing third grade. (I told you this was my nemesis!) I’m hoping to save you the angst I suffered in not knowing what to do with all the stuff. I’m going to show you what I do in the pictures below. It’s really simple. It’s flexible. It’s quick. It uses minimal supplies – three ring binders and acid free top-loading sheet protectors.

I’ve created this PDF with step-by-step instructions of how I do it that includes involving the child. Directions for downloading a copy are at the end of this post.
Organizing Homeschool Materials with Three Ring Binders and Top-Loading Sheet Protectors
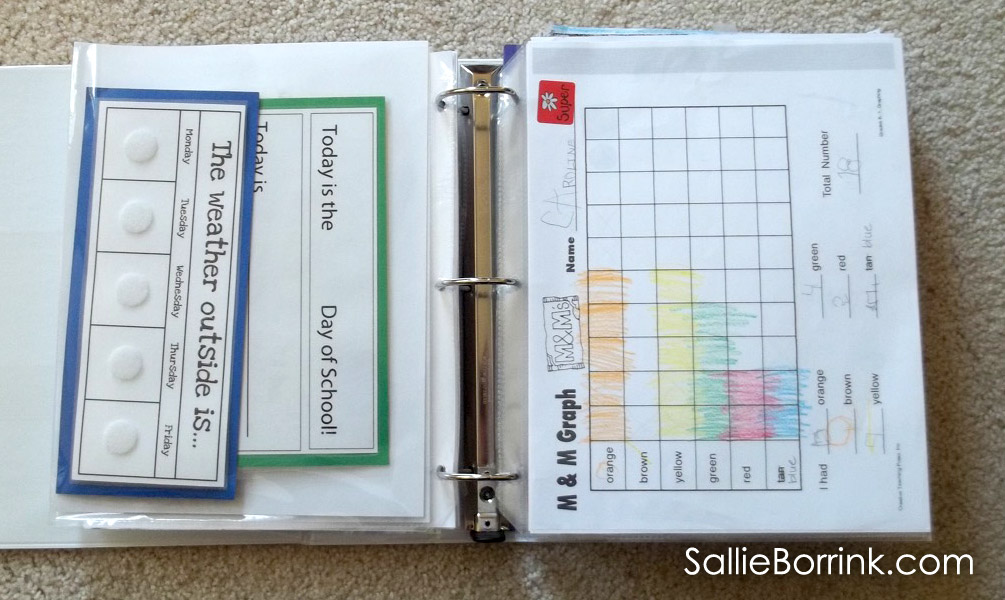
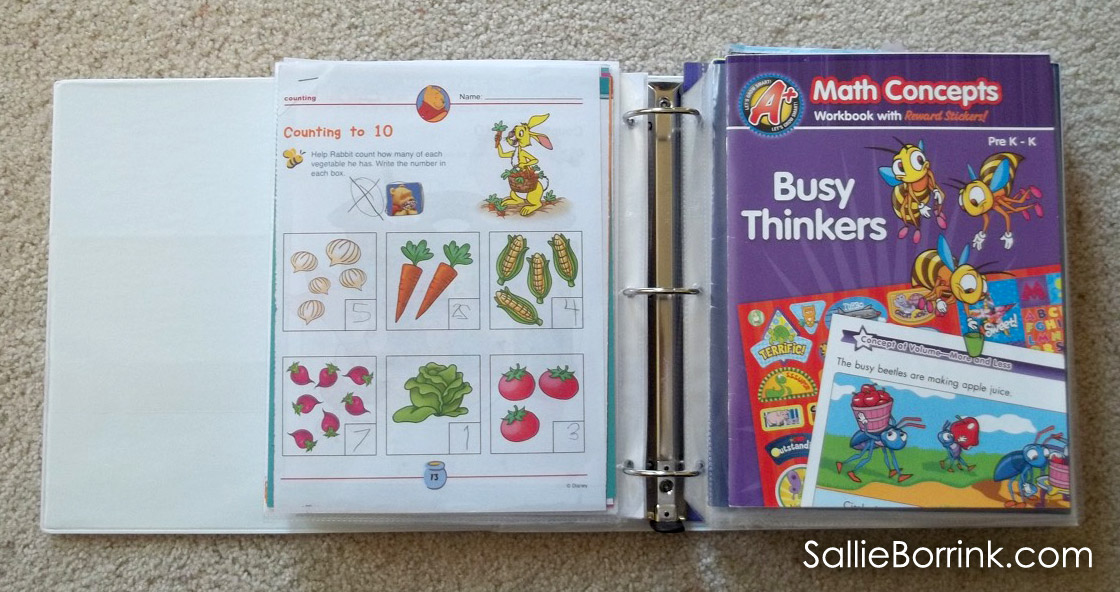
I use large (3 inch) three-ring binders with D rings with acid free top-loading sheet protectors.
It makes it easy to keep lots of little stuff which you will understand if you have a creative child who is constantly making “things” out of paper and other craft materials.
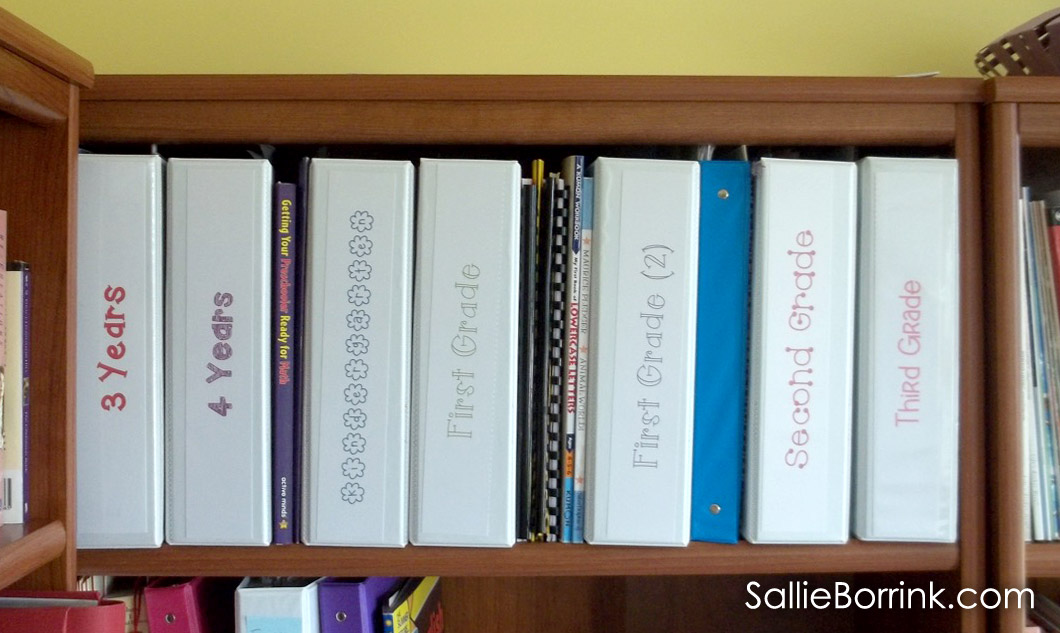
I looked at a lot of different ideas, including filing. I like the idea of filing in crates or file cabinets, but decided this way is better for a few reasons. One, everything is more contained. Two, it makes it easier for the child to look through her previous work without making a mess. Three, I like seeing the binders all lined up in a row in the bookcases in the learning room. (I know. I’m a dork.)
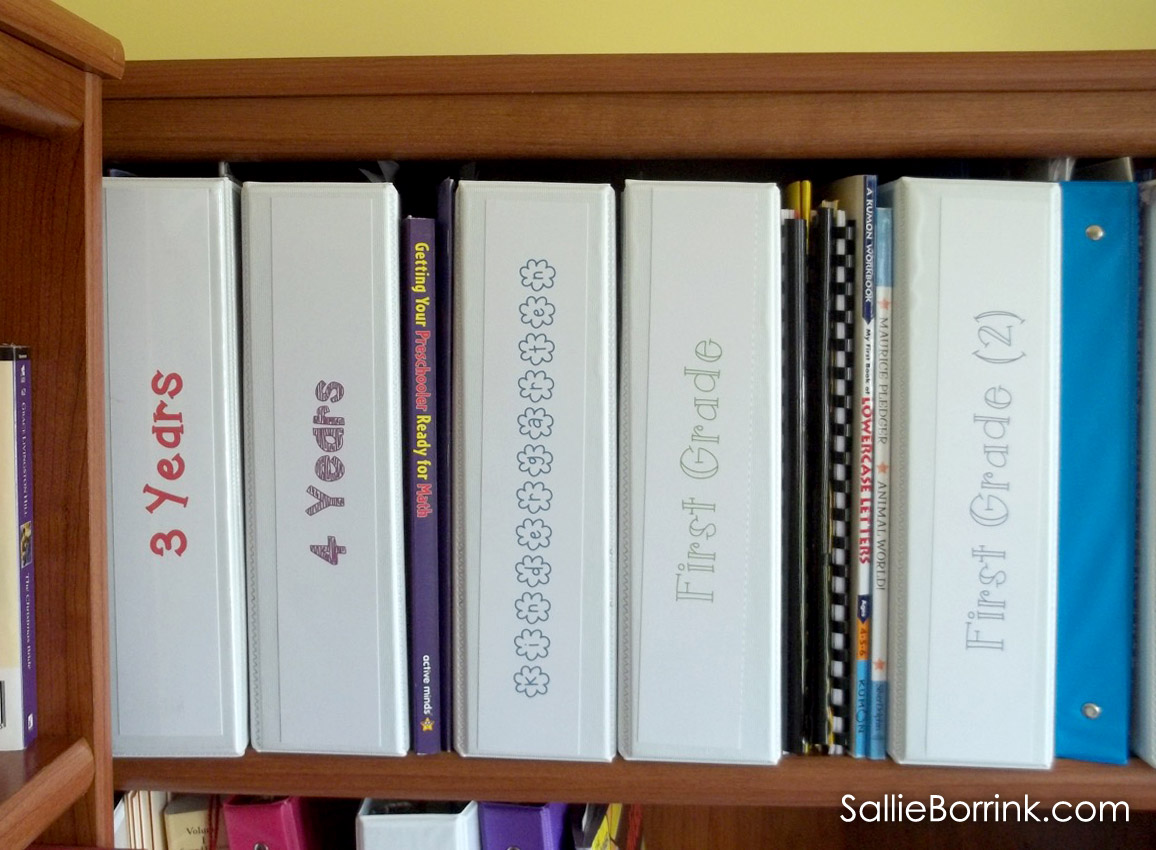
Caroline selected a different font and color for each binder. Workbooks that are too large to go into a sleeve were placed on the shelf.
Reasons To Keep a Homeschool Paper Record Trail
One of the reasons that I tend to keep pretty much every piece of learning-related paper we do generate is because so much of our learning doesn’t include paper. Because we are relaxed in our approach and my daughter has learning challenges (2e), I want to have some physical evidence that learning is going on. The laws are minimal in our state (Michigan), but I still want proof that we’re doing things. It makes me feel better.
The other reason I keep things is because I respect Caroline’s creations. I know some moms feel free to throw away anything their child creates that they (the moms) don’t want to keep. I don’t think that way. These are her creations and she took the time to make them. I respect that. Eventually Caroline was willing to go through her papers and start weeding out things that were previously deemed “treasures” and are now not valuable. But I respected her right to make those decisions.
Homeschool Binder Content Examples
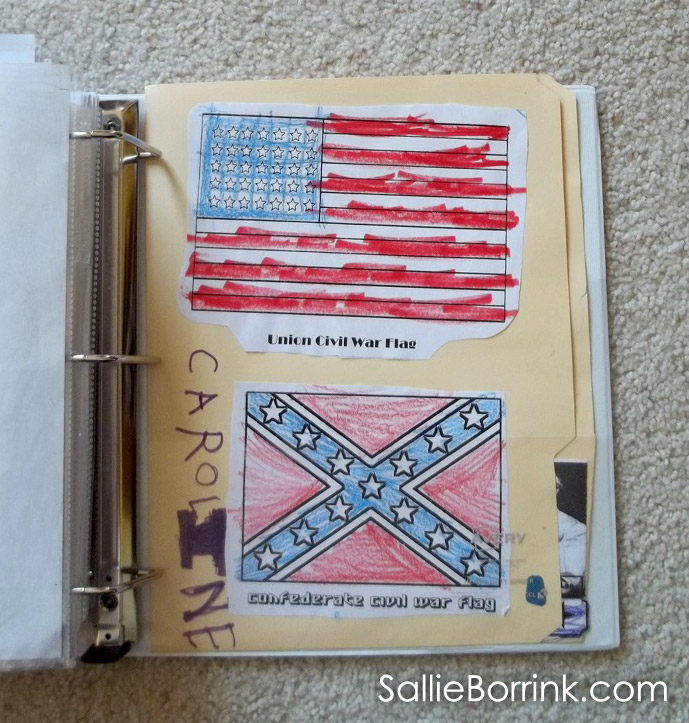
Here are some sample contents from her Kindergarten binder.
Greeting cards from the year

Math pages and math workbooks that fit in a sleeve
A primary journal in a sleeve (We loved these journals! I highly recommend them!)

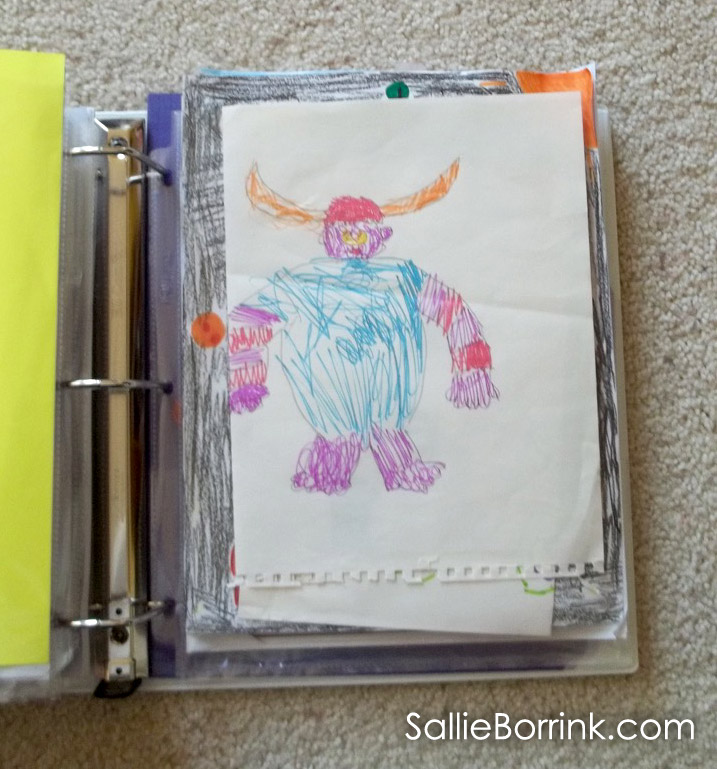
Piles and piles of drawings… Can anyone guess who that is in the drawing? (hint)
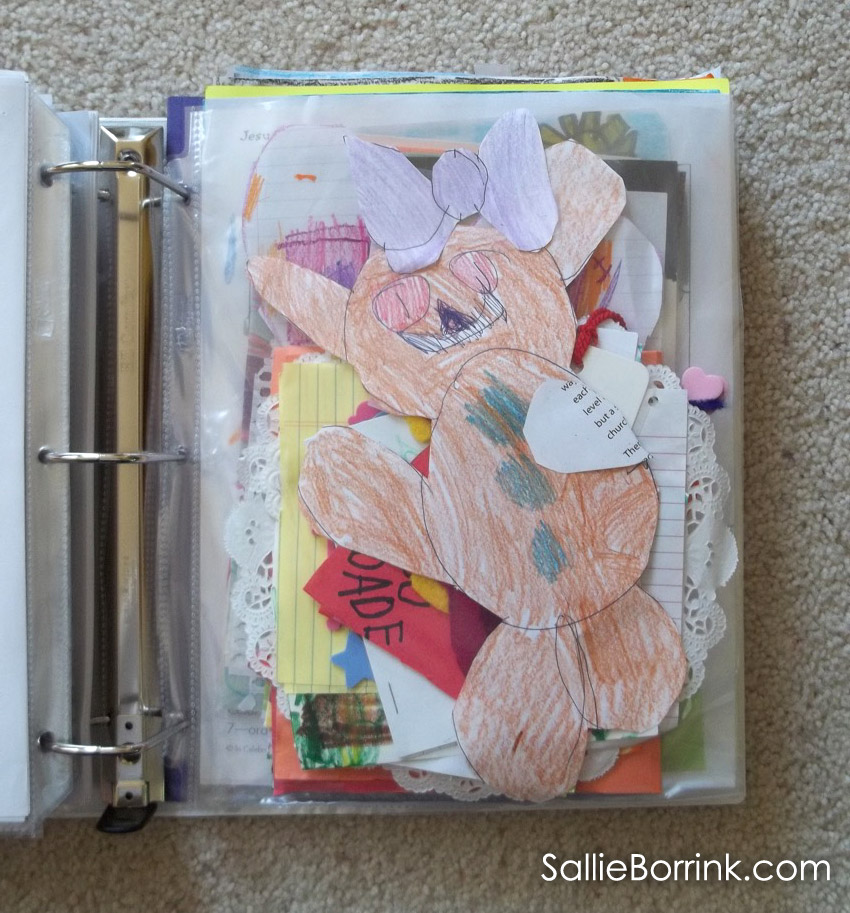
Lots and lots of creative this and that in lots and lots of acid free sleeves…
Lapbooks from homeschool co-op classes at the end
The best part is I can now keep up with it during the school year. I don’t file every day, but regularly so I keep on top of it. I don’t ever want to get behind like I was when I finally came up with a plan that worked.
If I need to trim the binders down in the future, it’s easy to go through them with Caroline, sort, and pitch again.
Download the Organizing Homeschool Paper Guide
By downloading this free printable, you are agreeing to my Digital Products Terms of Use. Thank you for respecting my work!
Click here: Organizing Homeschool Paperwork in Binders
If you are planning your homeschool year, you may also want to visit my Homeschool Planning Help page.

What a lovely collection of your school history!
This is awesome. I tried this one year but abandoned it about a quarter of the way through because I had a baby 🙂 Maybe I”l try again this year!
We use binders for Everything. Such a great tool!
I love binders, we buy the heavy duty expensive kind because well, there are no careful, gentle, delicate hands (or sometimes feet) using them. I was getting a little nervous scrolling down and seeing your pictures until I saw the piles and piles of drawings and creative this and thats! Yep that part looks like mine 🙂 Thanks so much for sharing and inspiring us! – Carlen
As of this moment, I have most of last year’s papers stuffed in a bin and slid under the bed. Not the best place for it, admittedly! I might just have to try this method and see how it works for us. Thanks for sharing!